Banners
On the top of the Manage Banners Panel there is a list of your Banners. Each banner in the list has the following control buttons: Preview, Edit, and Delete.
- Preview - this option lets you see the banner as it will look on your site.
- Edit - via this option you can change the banner settings. They appear in the form below.
- Delete - deletes a banner.
Besides these options, every line holds statistics such as number of impressions (the number of times the banner has been viewed or shown on a page) and number of clicks (the number of times a banner has been clicked when viewed on a page).
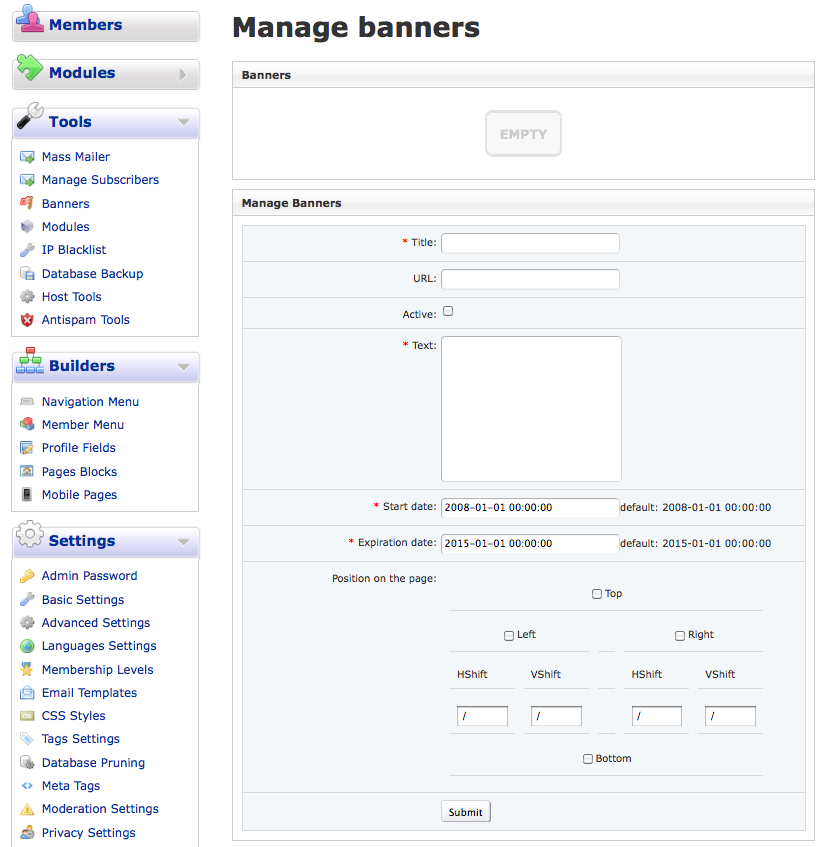
A new banner can be added by using a form at the bottom of the Manage banners page.
Please note that the field "Text" should contain only the path to the image source located on your server (formatted in basic html format, for example: <img src="http://yourimageurl">) or just plain text (if you want to have a plain text banner). The actual link should be specified in the field "URL". If the URL isn't placed in the URL location on the form, the banner will still work but the number of impressions and clicks will not be counted. If you want your banners centered on the pages, be sure to include the html coding of <center> before the image code and </center> afterwards, otherwise the banner will default to a left margin alignment.
To control how long the banner will be in place, use the date controls for the starting and ending date of the banner.
You can set a banner to be active by checking the option "Active". Active banners are highlighted in the list with a grey line. Please note that banners that will be displayed on your site are randomly chosen only from active banners.
If you check the option "Insert as new", then after submission of the form, a new banner will be added and the existing banner will stay unmodified.
The banner system allows you to point the banner to a specific place on the pages. There is a set of check boxes: Top, Right, Left, Bottom. There are 'SHIFTS' which will help you to fit the banner the better position on the pages.
Also now you can easily add Google ads or affiliate links via our banners system, just place the code in the Text box under Manage Banners. If you have an identifiable URL within the code, place it in the URL box as well as the Text box in order to track impressions and clicks. As a general rule, do not edit the code for Google ads or affiliate links as this may interfere with the company's tracking software.

Attachments (1)
-
Manage-Banners.png
(137.3 KB) -
added by ggsinc 14 years ago.
Manage Banners Screenshot
Download all attachments as: .zip
